Last updated on: May 27, 2023
In this tutorial, we will create a PDF reader that allows users to select a PDF file from their device and display it in the app.
We will first show a basic approach to display a PDF file, and then enhance our implementation by using the UIDocumentPickerViewController for a more user-friendly experience. To display the PDF file, we’ll make use of the PDFView class from the PDFKit framework.
PDFKit is a framework available in iOS that allows you to display and manipulate PDF documents. Introduced in iOS 11, PDFKit provides a range of functionalities, including rendering, searching, selecting, and modifying PDF content.
PDFKit is built on top of the Quartz 2D graphics engine, and its key components include the following:
PDFView: A view class that can display PDF documents in your app. It supports zooming, scrolling, and page navigation.PDFDocument: Represents a PDF document, which can be loaded from a file or data object. This class provides methods for accessing and manipulating the document’s content, such as adding, removing, or reordering pages, as well as searching for text.PDFPage: Represents a single page in a PDF document. You can access its content, including annotations, text, and media.PDFAnnotation: Represents an annotation in a PDF page. Annotations can be text, links, highlights, or other interactive elements.PDFSelection: Represents a selection of text in a PDF document. You can use this class to highlight or search for specific text within the document.
Contents
Adding PDFView in View Controller
Open the Object Library by clicking on the “+” button in the top-right corner of Xcode.
Search for “View” and drag it to your ViewController’s scene.
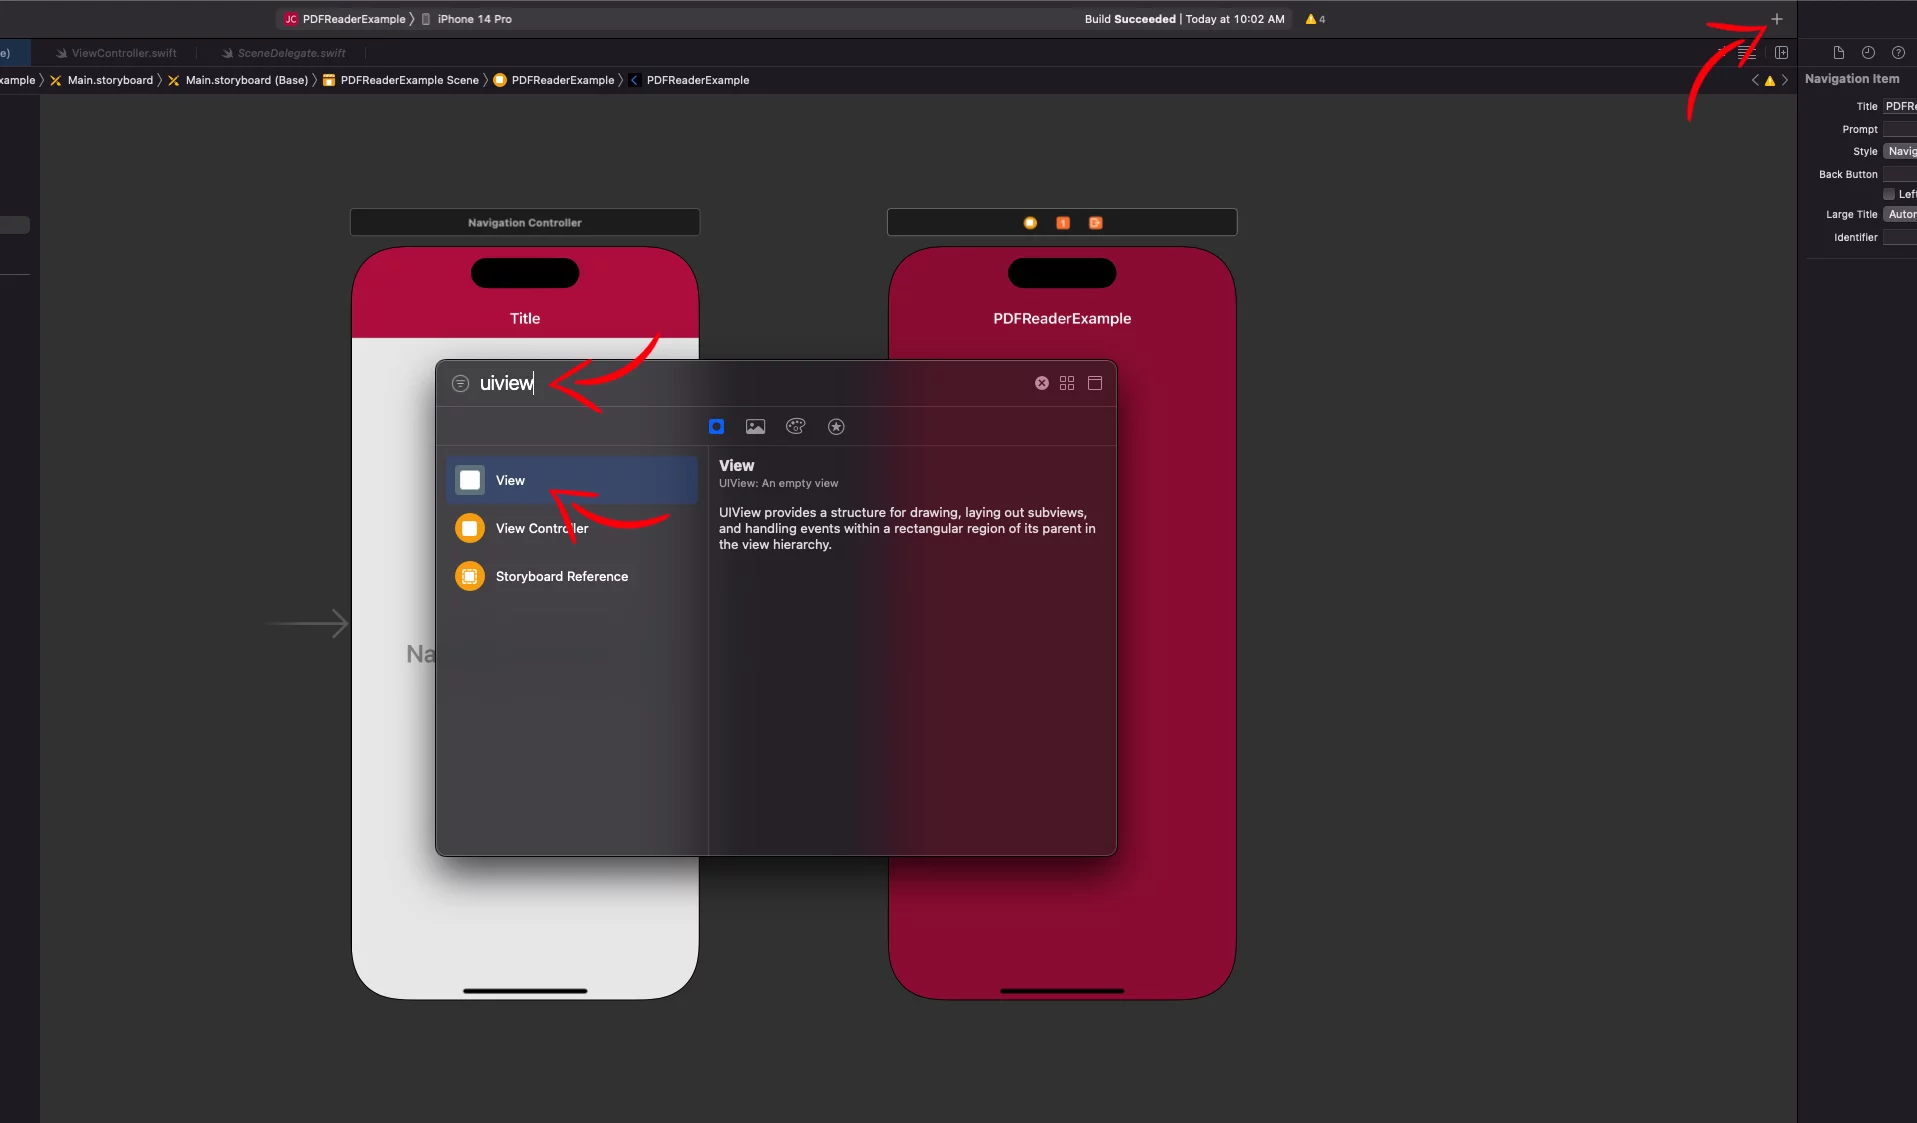
Resize the new view to fill the ViewController’s scene.
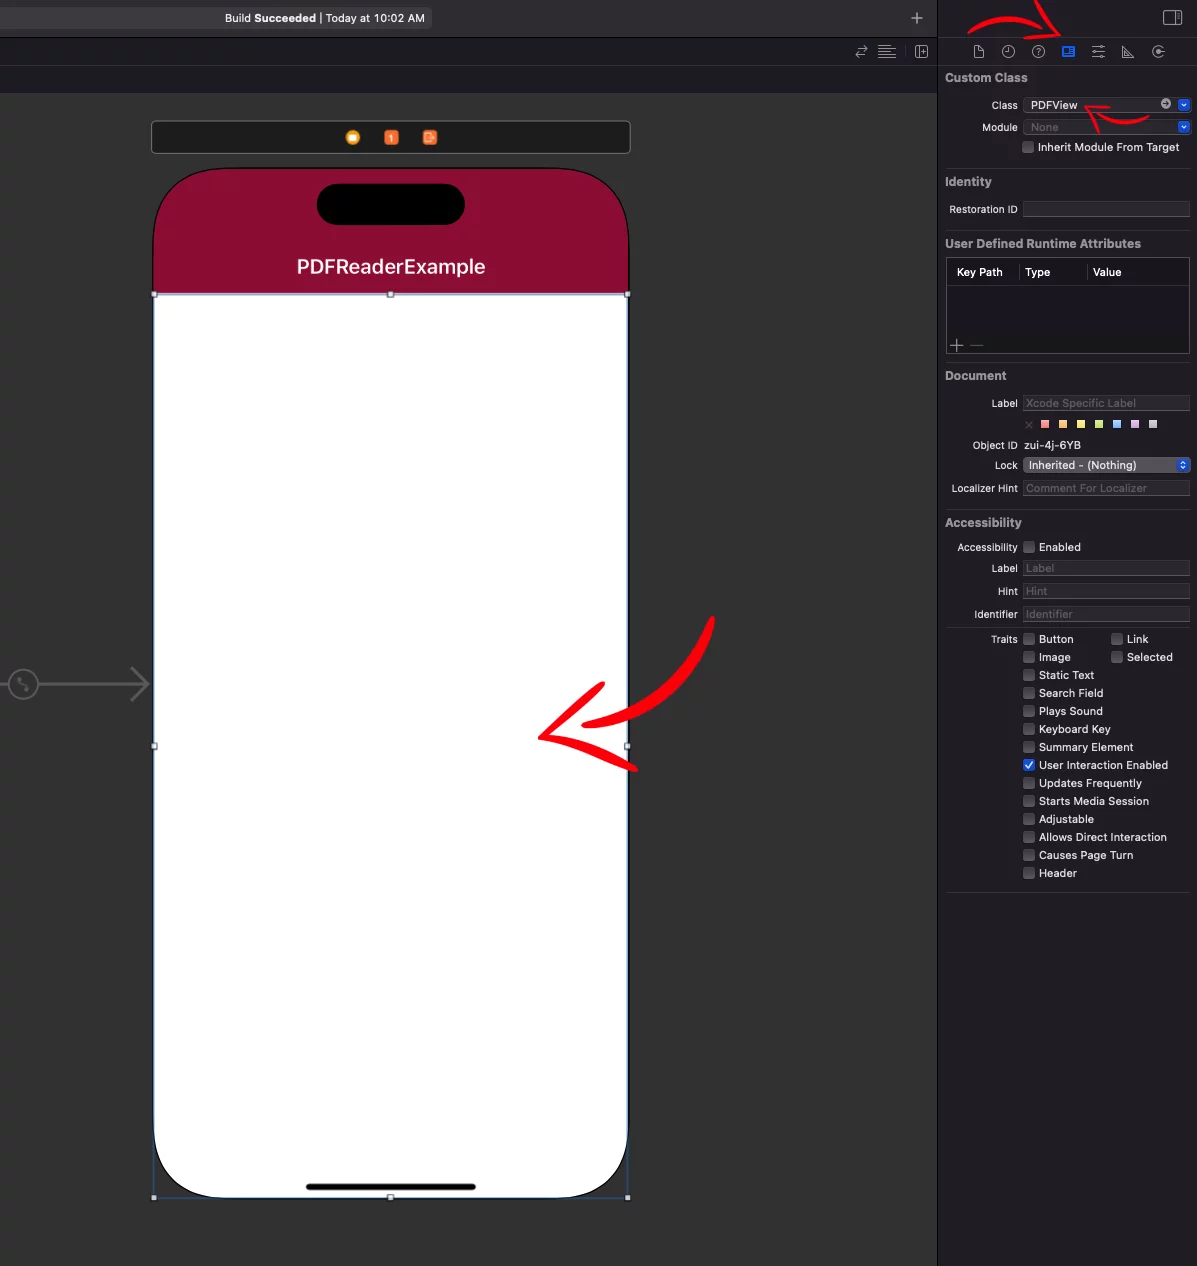
With the new view selected, go to the Identity Inspector on the right panel.
In the Class field, type PDFView and hit Enter. This will set the custom class of the view to PDFView.
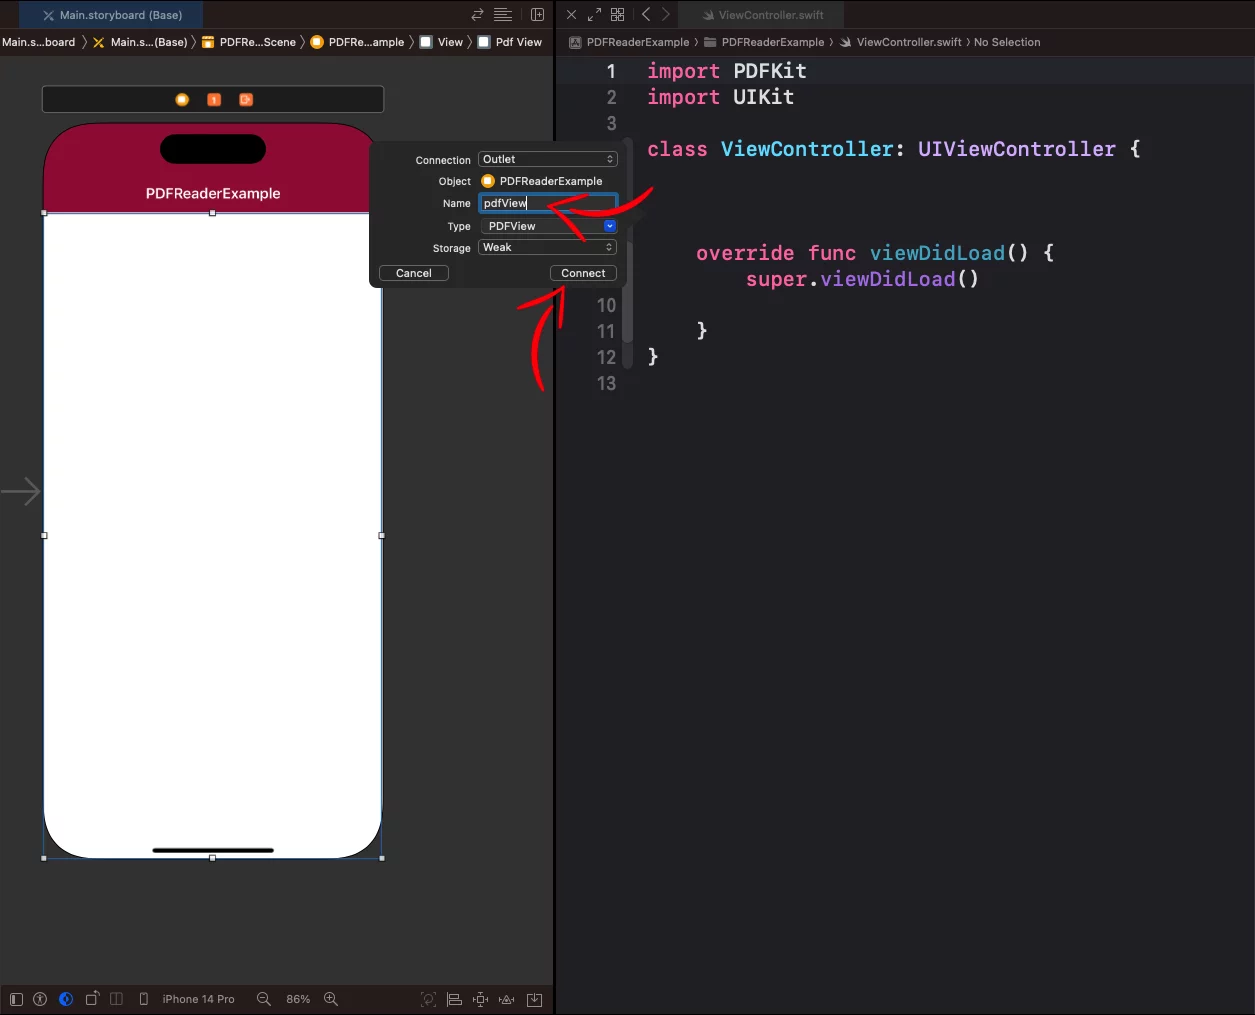
Now, in the ViewController.swift file, at the top of the file add:
import PDFKitCode language: Swift (swift)Place the storyboard and Swift file side by side, then drag the PDFView from the storyboard to the Swift file to create an IBOutlet, and name it pdfView.
Next, locate the PDF file you want to display in your app (in this example, we’ll use fw9.pdf).
Drag and drop the PDF file into your app’s bundle in the Project Navigator within Xcode.
A dialog box will appear; make sure “Copy items if needed” is checked and press “Finish.”
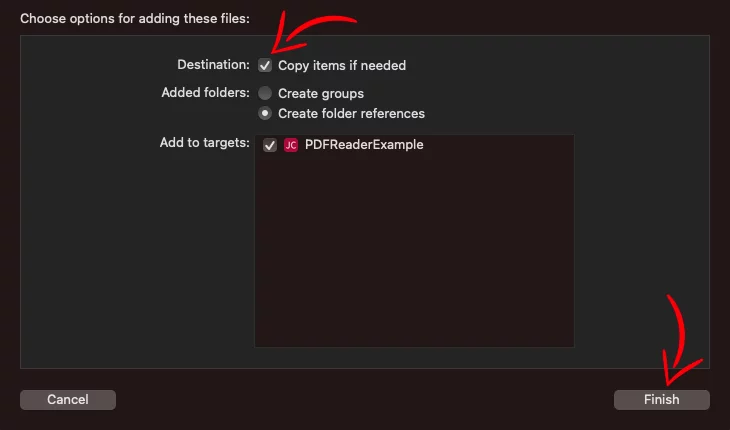
After completing these steps, your PDF file will be included in your project, and your Project Navigator should display the imported file as shown below:
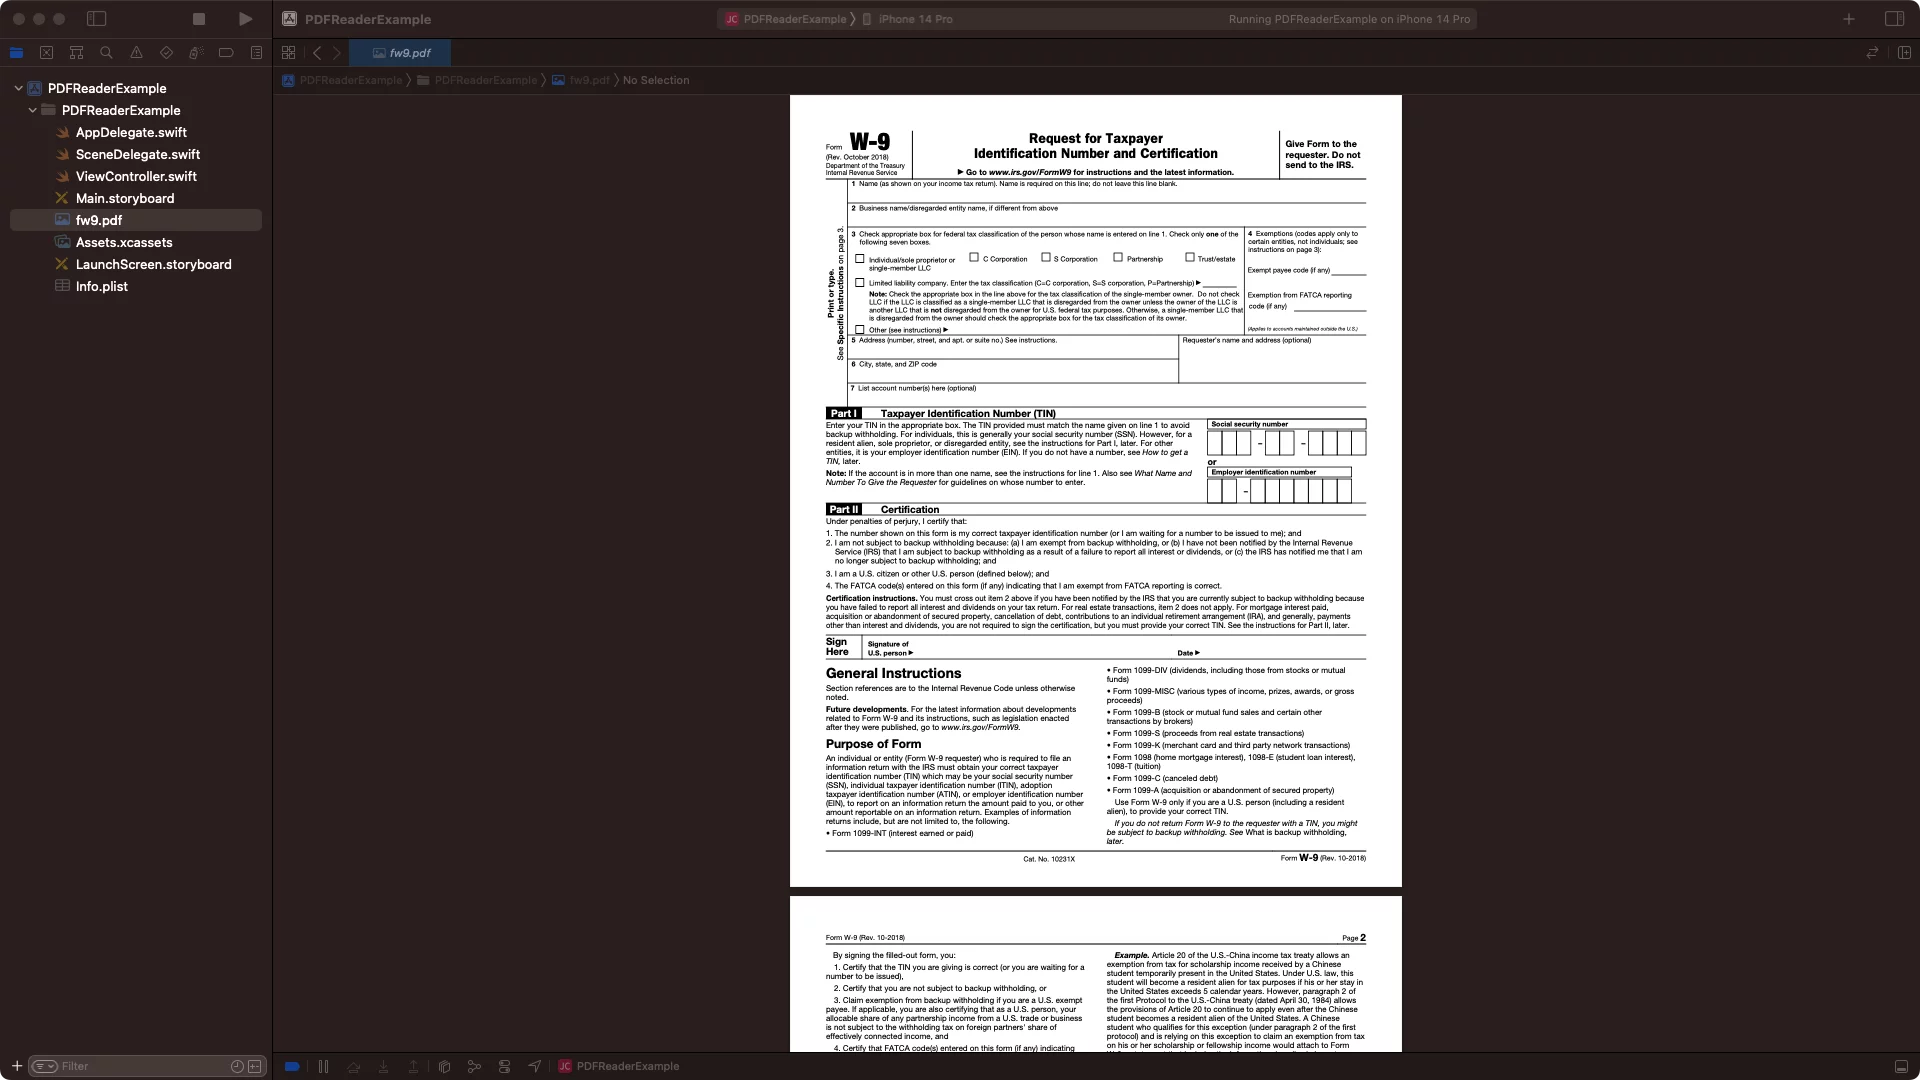
Now, you can display it like this:
import PDFKit
import UIKit

class ViewController: UIViewController {

    @IBOutlet weak var pdfView: PDFView!

    override func viewDidLoad() {
        super.viewDidLoad()

        displayPDF()
    }

    func displayPDF() {
        guard let path = Bundle.main.path(forResource: "fw9", ofType: "pdf") else { return }
        let url = URL(fileURLWithPath: path)
        guard let pdfDocument = PDFDocument(url: url) else { return }

        pdfView.document = pdfDocument
        // Enable automatic scaling of the PDF view to fit the content within the available space
        pdfView.autoScales = true
    }
}Code language: Swift (swift)
Choosing PDF using UIDocumentPickerViewController
Now let’s move on to a more user-friendly approach by allowing users to pick a PDF file from their device using UIDocumentPickerViewController.
Make your view controller conform to UIDocumentPickerDelegate:
class ViewController: UIViewController, UIDocumentPickerDelegate {Code language: Swift (swift)In the Main.storyboard, add a Navigation Item to the top-right corner of the view controller’s navigation bar (If you don’t have Navigation Controller, select the View Controller and then go Editor > Embed In > Navigation Controller) and create an @IBAction connection named openDocumentPickerAction.
class ViewController: UIViewController, UIDocumentPickerDelegate{

    @IBOutlet weak var pdfView: PDFView!

    override func viewDidLoad() {
        super.viewDidLoad()

        // displayPDF()

    }

    // ...

    @IBAction func openDocumentPickerAction(_ sender: UIBarButtonItem) {
        // ...
    }

}Code language: Swift (swift)
Now, create a new method with a name showDocumentPicker, and add the following code:
private func showDocumentPicker() {
    let documentPicker: UIDocumentPickerViewController
    let pdfType = "com.adobe.pdf"

    if #available(iOS 14.0, *) {
        let documentTypes = UTType.types(tag: "pdf", tagClass: UTTagClass.filenameExtension, conformingTo: nil)
        documentPicker = UIDocumentPickerViewController(forOpeningContentTypes: documentTypes)
    } else {
        documentPicker = UIDocumentPickerViewController(documentTypes: [pdfType], in: .import)
    }

    documentPicker.delegate = self
    present(documentPicker, animated: true, completion: nil)
}Code language: Swift (swift)
This method creates a UIDocumentPickerViewController instance, allowing the user to select PDF files from their device. It configures the document picker to support both iOS 14+ and earlier versions, setting the delegate to the view controller and presenting the picker.
Also, import the UniformTypeIdentifiers at the top of the file to be able to use UTType
import PDFKit
import UniformTypeIdentifiersCode language: Swift (swift)
Next, implement the documentPicker(_:didPickDocumentsAt:) and documentPickerWasCancelled(_:) delegate methods in your view controller:
func documentPicker(_ controller: UIDocumentPickerViewController, didPickDocumentsAt urls: [URL]) {
    guard let url = urls.first else { return }
    displayPDF(url: url)
}

func documentPickerWasCancelled(_ controller: UIDocumentPickerViewController) {
    dismiss(animated: true, completion: nil)
}Code language: Swift (swift)
These methods handle the user’s selection of a PDF file or the cancellation of the document picker, respectively.
Update the displayPDF() method to accept a URL as a parameter:
private func displayPDF(url: URL) {
    guard let pdfDocument = PDFDocument(url: url) else {
        print("Failed to load the PDF document.")
        return
    }
    pdfView.document = pdfDocument
    // Enable automatic scaling of the PDF view to fit the content within the available space
    pdfView.autoScales = true
}Code language: Swift (swift)
This method takes a URL as input and attempts to create a PDFDocument object. If successful, it assigns the document to the pdfView, enabling automatic scaling to fit the content within the available space.
Finally, call the showDocumentPicker() method from the IBAction we created before:
class ViewController: UIViewController, UIDocumentPickerDelegate{

    @IBOutlet weak var pdfView: PDFView!

    override func viewDidLoad() {
        super.viewDidLoad()

        // displayPDF()

    }

    // ...

    @IBAction func openDocumentPickerAction(_ sender: UIBarButtonItem) {
         showDocumentPicker()
    }

}Code language: Swift (swift)
You can find the final project here
PDFKit Features
This is only the basic setup of PDFKit, which simply shows a PDF. However, in many cases, we want additional features, such as navigating to the next page, displaying the PDF horizontally instead of vertically, or downloading the file.
Next Page, Previous Page
Navigate smoothly between pages in a PDF document using the code below:
// Go to the previous or next page
pdfView.goToPreviousPage(nil)
pdfView.goToNextPage(nil)Code language: Swift (swift)
Jump to a Specific Page
Access a specific page within a PDF document directly with this code snippet:
// Jump to a specific page
if let page = pdfView.document?.page(at: pageIndex) {
    pdfView.go(to: page)
}Code language: Swift (swift)
Zoom In and Out
Adjust the zoom level within a document using the following code:
// Zoom in and out
pdfView.scaleFactor += 0.1 // Zoom in
pdfView.scaleFactor -= 0.1 // Zoom outCode language: Swift (swift)
Scroll Vertically or Horizontally
Easily scroll through a document either vertically or horizontally using the following code:
pdfView.autoScales = true
pdfView.displayDirection = .vertical // Vertical scrolling
pdfView.displayDirection = .horizontal // Horizontal scrollingCode language: Swift (swift)
Adjust the Display Mode
Change the display mode of a document with the code below:
pdfView.displayMode = .singlePage // Single page
pdfView.displayMode = .singlePageContinuous // Continuous scrolling
pdfView.displayMode = .twoUp // Double pageCode language: Swift (swift)
Change the Background Color
Modify the background color of the PDF view using this code snippet:
pdfView.backgroundColor = .lightGrayEnable or Disable Page Breaks
Control the display of page breaks with the following code:
pdfView.pageBreakMargins = UIEdgeInsets(top: 10, left: 10, bottom: 10, right: 10)
pdfView.displaysPageBreaks = true // Enable
pdfView.displaysPageBreaks = false // DisableCode language: Swift (swift)
Show or Hide Page Thumbnails
Toggle the visibility of page thumbnails using this code:
pdfView.displaysAsBook = true // Show
pdfView.displaysAsBook = false // HideCode language: Swift (swift)
Add an Annotation
Create and add an annotation to the current page with the code snippet below:
if let page = pdfView.currentPage {
    let annotationBounds = CGRect(x: 100, y: 100, width: 200, height: 50)
    let annotation = PDFAnnotation(bounds: annotationBounds, forType: .highlight, withProperties: nil)
    annotation.color = .yellow
    page.addAnnotation(annotation)
}Code language: Swift (swift)
Remove an Annotation
Remove annotations from the current page using the following code:
if let page = pdfView.currentPage {
    for annotation in page.annotations {
        if let markupAnnotation = annotation as? PDFAnnotationMarkup,
           markupAnnotation.markupType == .highlight {
            page.removeAnnotation(annotation)
        }
    }
}Code language: Kotlin (kotlin)
Select and Copy Text
Retrieve and print the selected text using this code snippet:
if let selectedText = pdfView.currentSelection?.attributedString {
    print("Selected text: \(selectedText.string)")
}Code language: Swift (swift)
Search for Specific Text
Find occurrences of specific text within a document using the code below:
if let document = pdfView.document {
    let searchText = "example"
    let selections = document.findString(searchText, withOptions: .caseInsensitive)
    for selection in selections {
        print("Found '\(searchText)' on page \(selection.pages.first!.label!)")
    }
}Code language: Swift (swift)
Get the Text Content of a Page
Retrieve and print the text content of the current page with this code snippet:
if let page = pdfView.currentPage, let content = page.string {
    print("Page content: \(content)")
}Code language: Swift (swift)
Create a New PDF Document
Generate a new PDF document using the following code:
// Define the page size
let pageSize = CGSize(width: 612, height: 792)

// Create a UIGraphicsPDFRenderer with the page size
let renderer = UIGraphicsPDFRenderer(bounds: CGRect(origin: .zero, size: pageSize))

// Render the PDF data
let pdfData = renderer.pdfData { (context) in
    // Begin a new PDF page
    context.beginPage()

    // Draw content on the page
    let text = "Hi!"
    let font = UIFont.systemFont(ofSize: 18)
    let attributes: [NSAttributedString.Key: Any] = [.font: font]
    (text as NSString).draw(at: CGPoint(x: 100, y: 100), withAttributes: attributes)
}

// Create a new PDFDocument with the PDF data
let newDocument = PDFDocument(data: pdfData)

// Save the new document
let documentURL = FileManager.default.urls(for: .documentDirectory, in: .userDomainMask)[0].appendingPathComponent("newDocument.pdf")
newDocument?.write(to: documentURL)Code language: Swift (swift)
Rotate a Page
Rotate the current page using this code:
if let page = pdfView.currentPage {
    page.rotation += 90 // Rotate clockwise
}Code language: Swift (swift)
Encrypt a PDF Document
Secure a PDF document with encryption using the following code snippet:
let password = "secret_password"

// Get the raw data of the document
guard let rawData = pdfView.document?.dataRepresentation() else {
    print("Failed to get the raw data of the document")
    return
}

// Create a new PDF document with the raw data
let encryptedDocument = PDFDocument(data: rawData)

// Set the encryption properties
let options: [PDFDocumentWriteOption: Any] = [
    .userPasswordOption: password,
    .ownerPasswordOption: password
]

// Save the encrypted document
if let encryptedDocument = encryptedDocument {
    let encryptedDocumentURL = FileManager.default.urls(for: .documentDirectory, in: .userDomainMask)[0].appendingPathComponent("encryptedDocument.pdf")
    encryptedDocument.write(to: encryptedDocumentURL, withOptions: options)
}Code language: Swift (swift)
Unlock a Password-Protected Document
Unlock a password-protected PDF document using the code below:
let unlockPassword = "secret_password"
if pdfView.document?.unlock(withPassword: unlockPassword) == true {
    print("Document unlocked successfully!")
} else {
    print("Wrong password. Failed to unlock the document.")
}Code language: Swift (swift)
If you have any questions, please feel free to leave a comment below