Last updated on: May 27, 2023
Apple announced back in June, at WWDC 2019, their own social login service called ‘Sign in with Apple‘ with a focus on privacy.
Users can hide their own email addresses by giving a private email, created by Apple, to the app.
Apple added recently in their App Store Review Guidelines that the apps that already have 3rd party social logins (Facebook Login, Sign in with Twitter, etc.) to set up an account, MUST also add the ‘Sign in with Apple‘ method.
Today I’m going to show you how to integrate the ‘Sign in with Apple‘ button into your iOS project in 4 simple steps.
Let’s dive into it!
Contents
Step 1: Set up your app in the Apple Developer Account
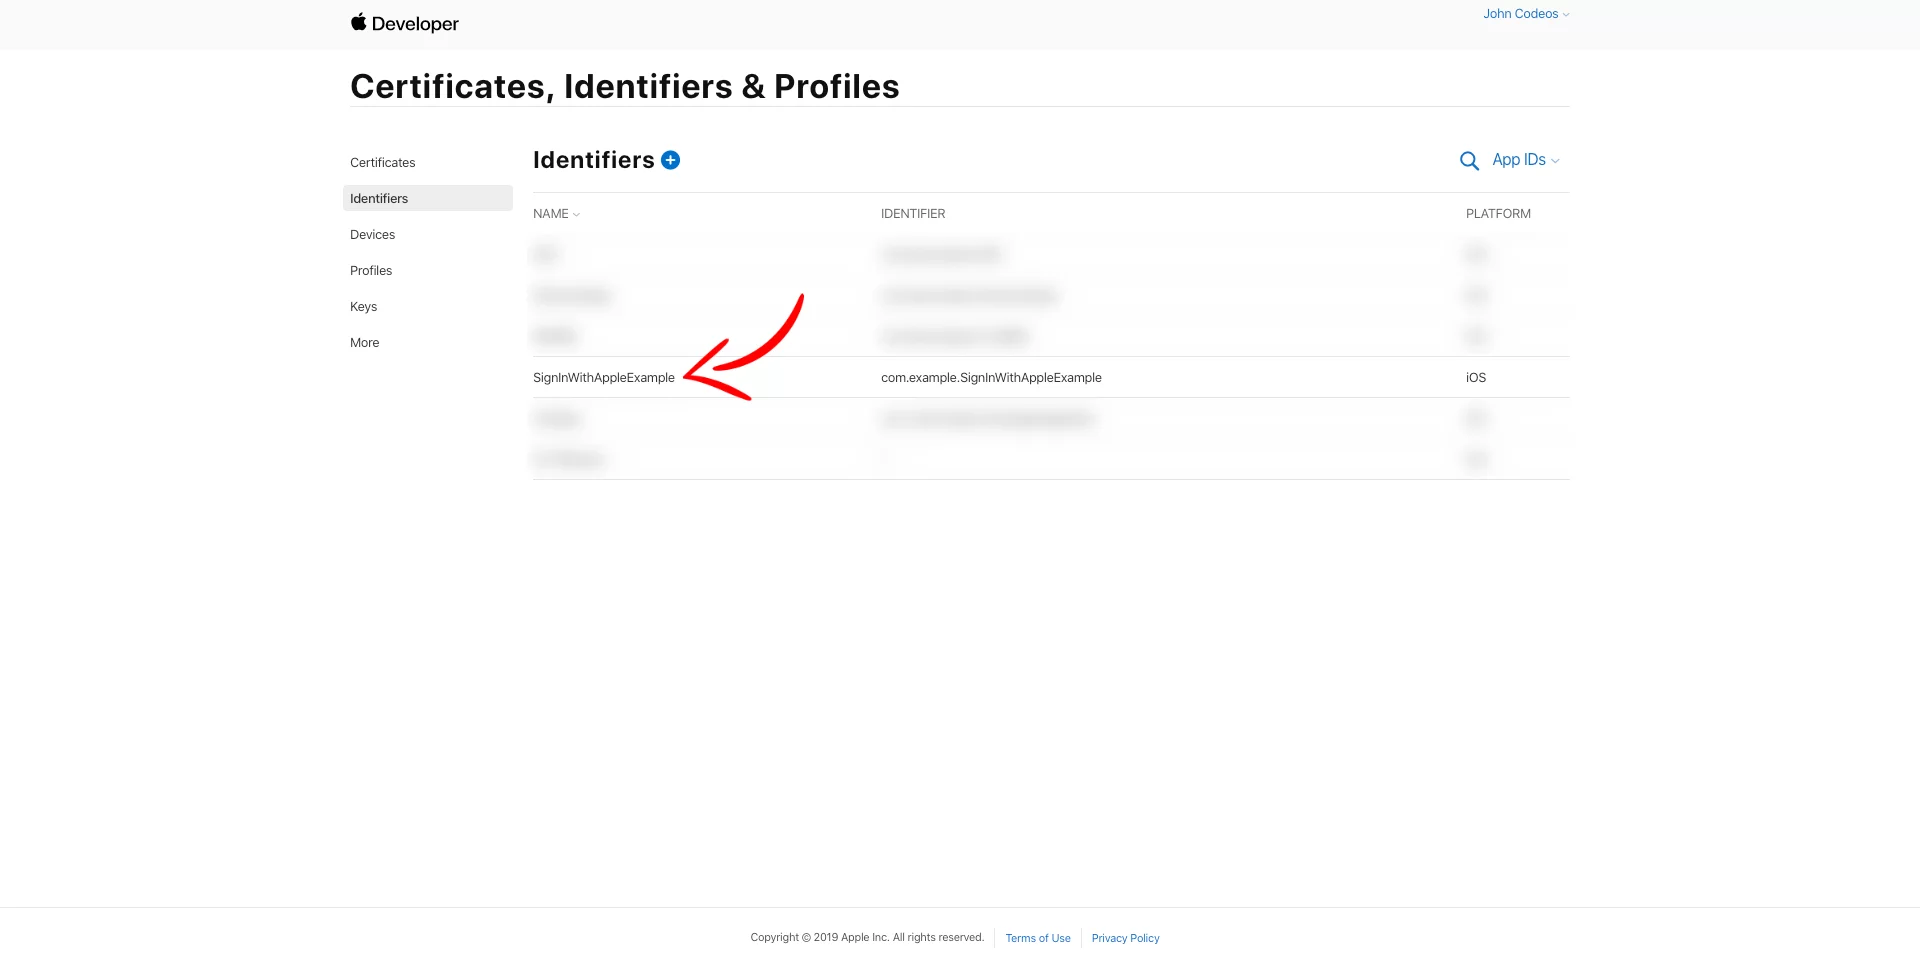
Go into your Apple Developer Account, choose Certificates, Identifiers & Profiles, then choose Identifiers on the left, and then your app from the list.
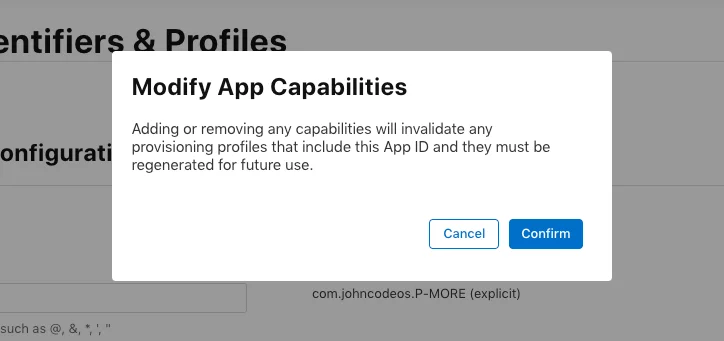
On the list of Capabilities, enable Sign In with Apple, press Edit, choose Enable as a primary App ID and press Save.

Press Save again and Confirm.
Now, go back and click the Keys button on the left.
Create a new key by pressing the + button next to the ‘Keys’ title.
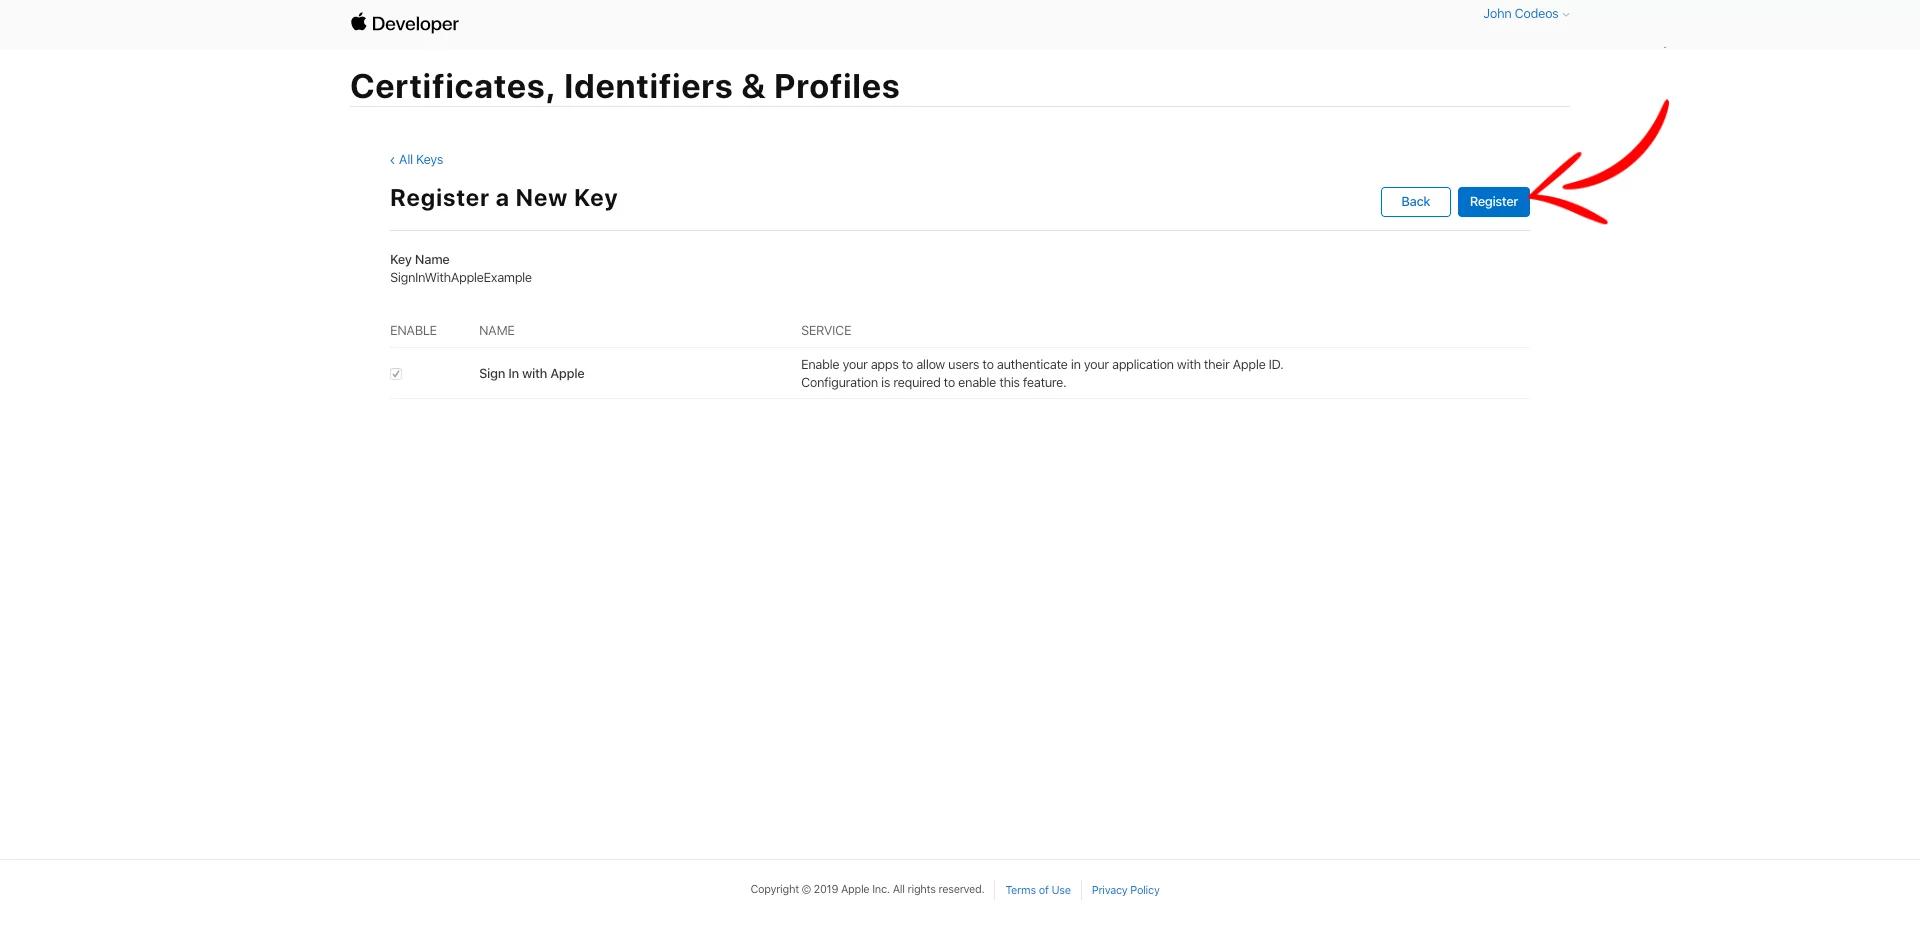
Give a name and enable Sign In with Apple by ticking the box.

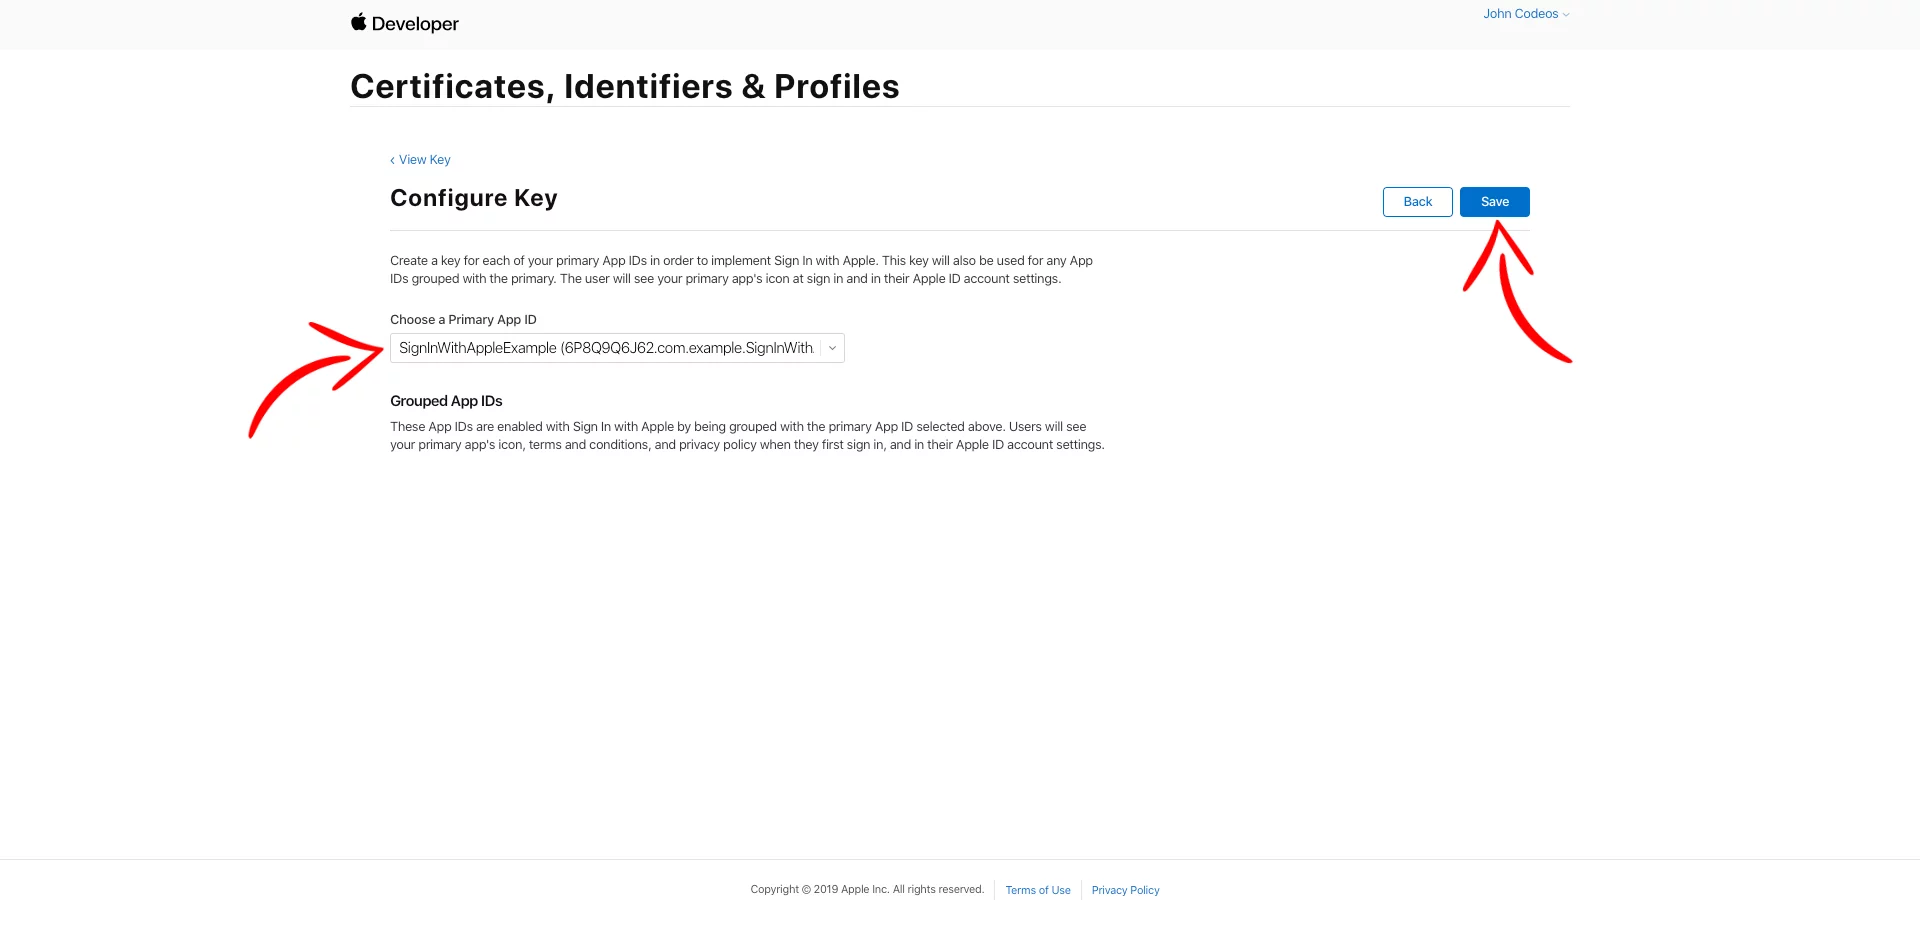
Press Configure and choose your Primary App ID and press Save.
Press Continue, on the next page press Register, and then Done (You don’t need to download the key, because we’re not going to use ‘Sign in with Apple‘ on a website)

(Optional) Add Domain and e-mail to contact your users
As I said at the beginning, ‘Sign in with Apple‘ gives users the option to hide their email addresses when they log in.
To be able to contact those users, you need to set up a domain and a contact email in your Apple Developer Account.
Choose Services from the left and press Configure under the Sign in with Apple for Email Communication section.
On the next page, add your domain and email and press Register on both

To verify the domain, press Download and download the .txt file.
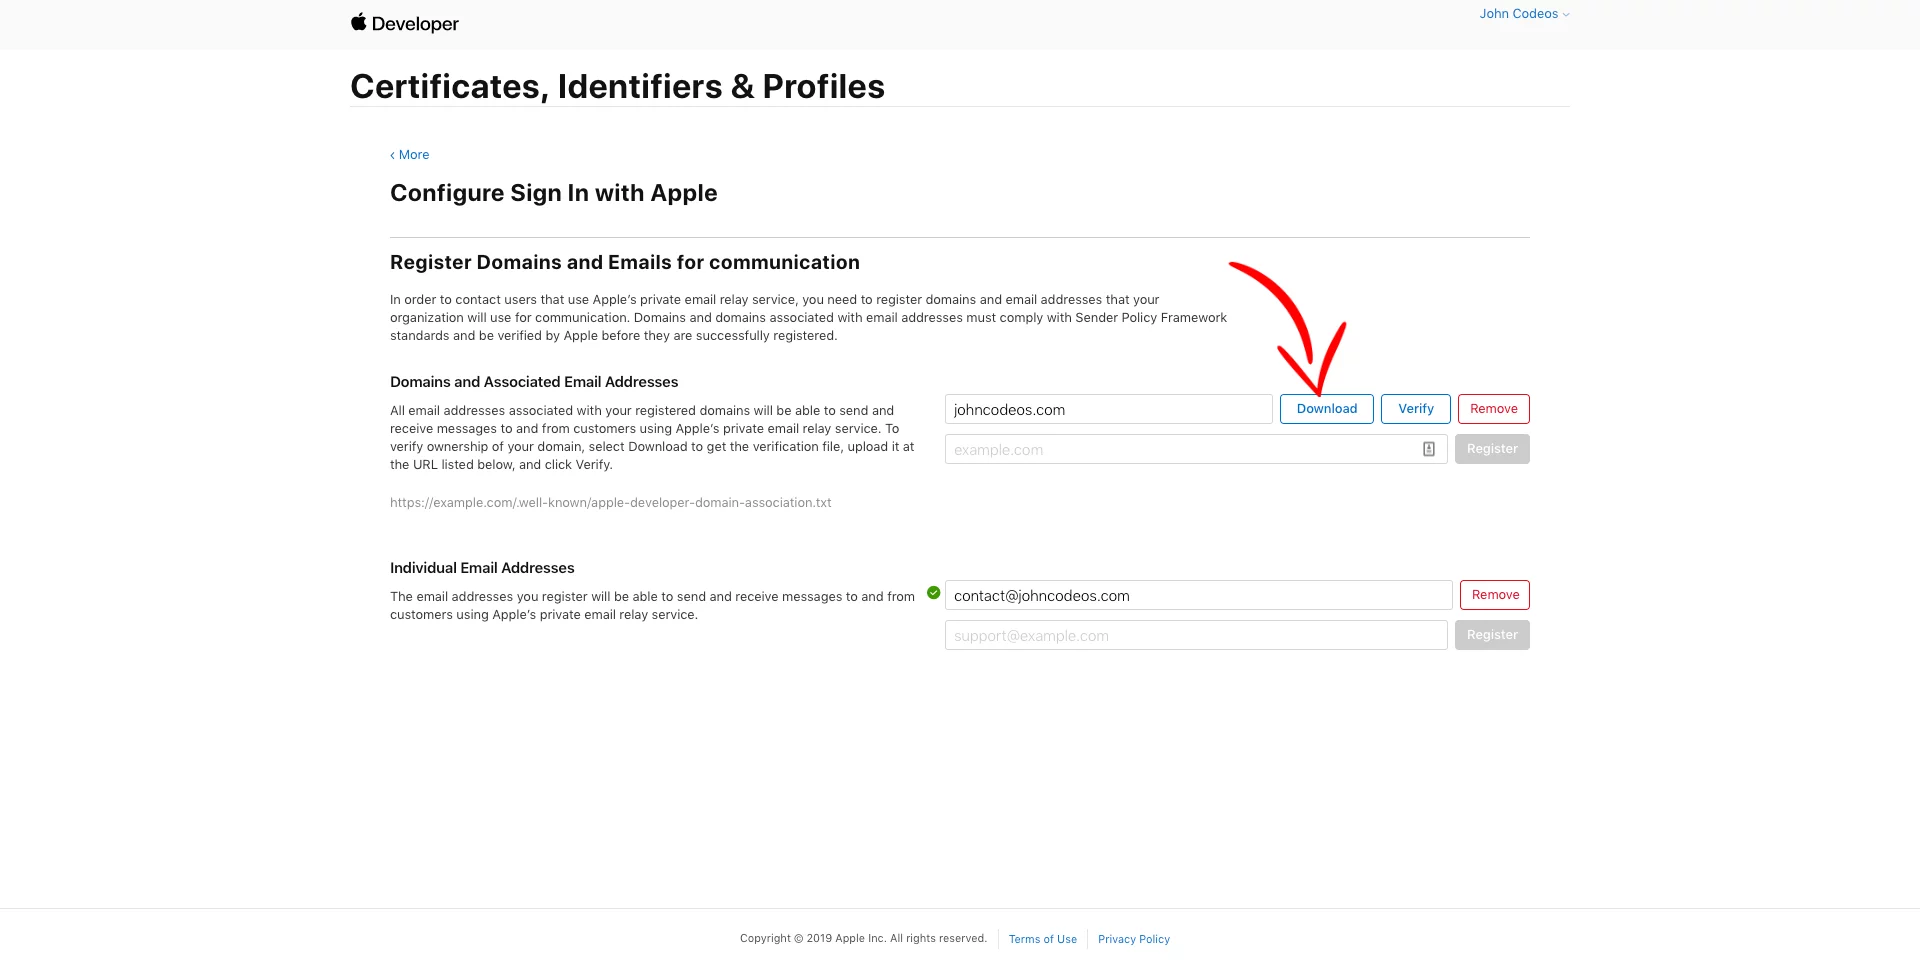
Access your website’s FTP server, create a folder named .well-known (including the dot at the beginning), and upload it to the server.
To test if it’s working, type: https://PUT_YOUR_DOMAIN_HERE.com/.well-known/apple-developer-domain-association.txt and check if a text comes out as a result.
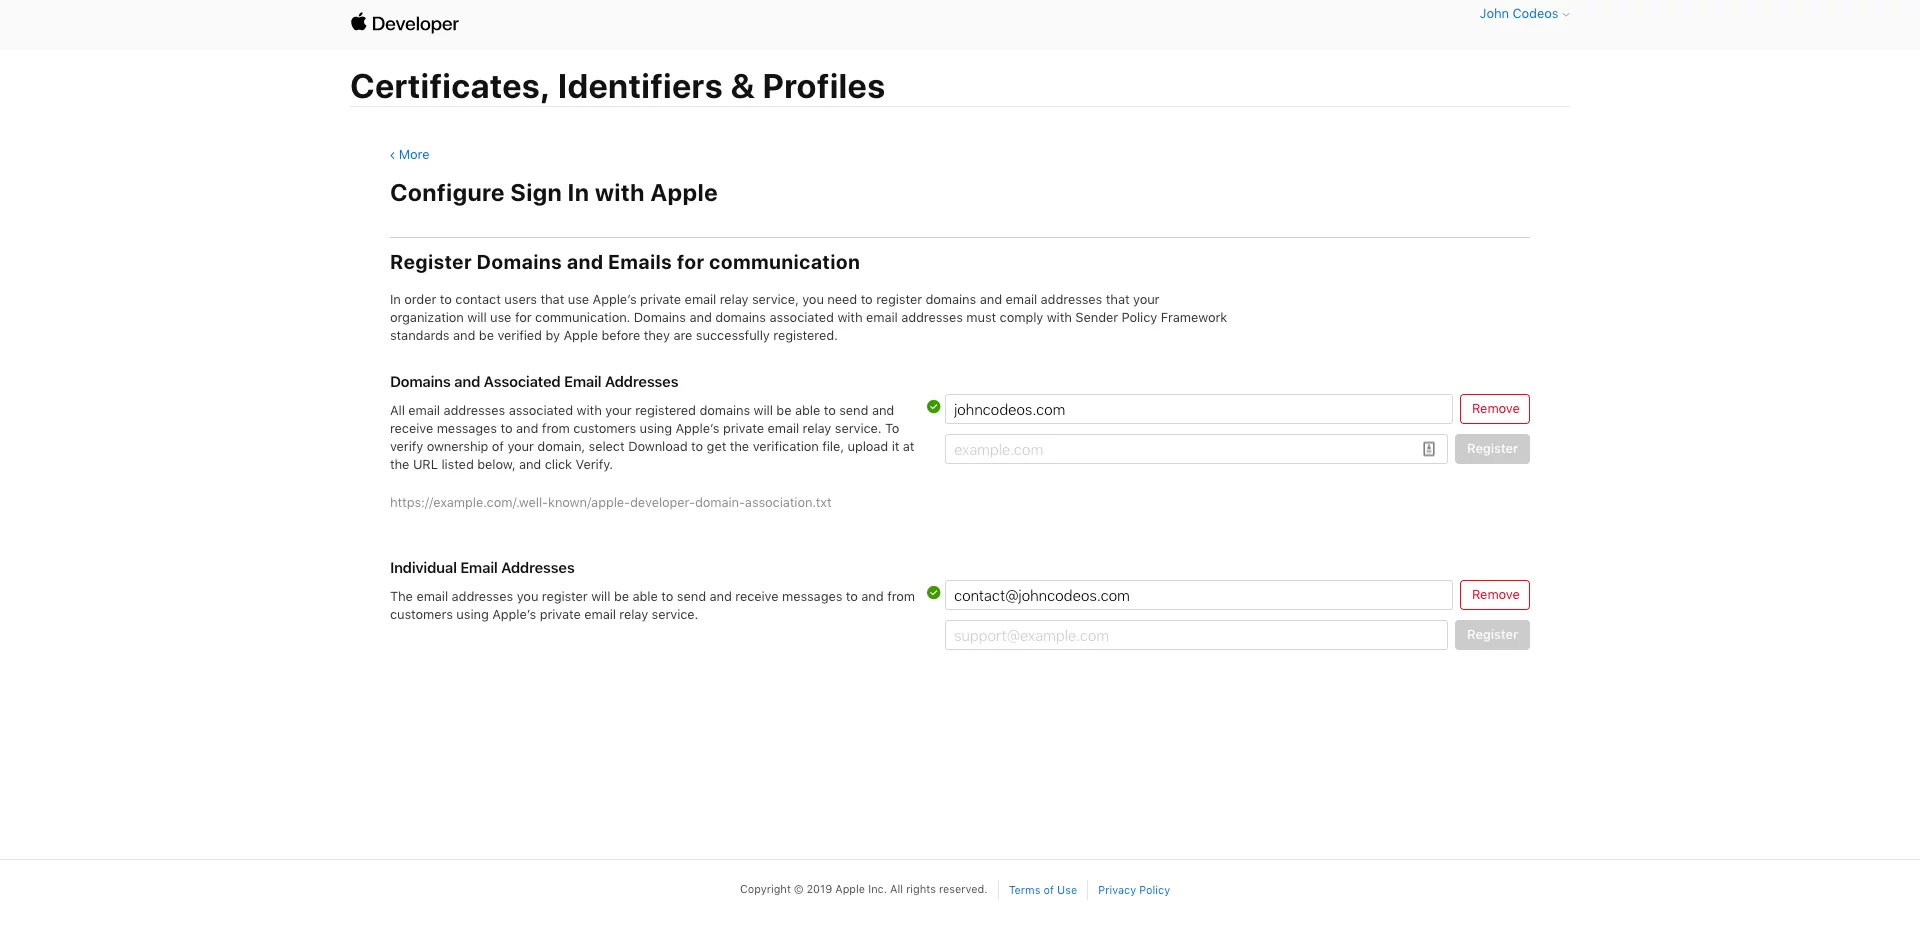
Afterward, return to the previous screen and click on Verify. Please note that it may take some time for Apple to detect the file on your server.
If it’s all good, you’ll see the following page:
Step 2: Add ‘Sign in with Apple’ capability to your project
Go into your project and choose your project from the left side, press Signing & Capabilities, and then press + Capability to add a new capability.

On the new window double click Sign in with Apple to add it (Type ‘apple’ to find it easier)

Step 3: Add the ‘Sign in with Apple’ Button
There are two ways you can add the ‘Sign in with Apple’ button in your view.
You can use the class ASAuthorizationAppleIDButton, provided by Apple, or you can create your own custom button (Style the button according to Apple’s Sign in with Apple – Human Interface Guidelines to prevent your app from getting rejected on the review process).
Option 1: Adding ASAuthorizationAppleIDButton Button
Add the following code to your LoginViewController:
func appleLoginButton() {
        if #available(iOS 13.0, *) {
            let appleLoginBtn = ASAuthorizationAppleIDButton(type: .signIn, style: .whiteOutline)
            appleLoginBtn.addTarget(self, action: #selector(actionHandleAppleSignin), for: .touchUpInside)
            self.view.addSubview(appleLoginBtn)
            // Setup Layout Constraints to be in the center of the screen
            appleLoginBtn.translatesAutoresizingMaskIntoConstraints = false
            NSLayoutConstraint.activate([
                appleLoginBtn.centerXAnchor.constraint(equalTo: self.view.centerXAnchor),
                appleLoginBtn.centerYAnchor.constraint(equalTo: self.view.centerYAnchor),
                appleLoginBtn.widthAnchor.constraint(equalToConstant: 200),
                appleLoginBtn.heightAnchor.constraint(equalToConstant: 40)
                ])
        }
    }Code language: Swift (swift)
Option 2: Adding Custom Button
Add the following code in your LoginViewController if you want to have a custom button instead of using the ASAuthorizationAppleIDButton class:
func appleCustomLoginButton() {
        if #available(iOS 13.0, *) {
            let customAppleLoginBtn = UIButton()
            customAppleLoginBtn.layer.cornerRadius = 20.0
            customAppleLoginBtn.layer.borderWidth = 2.0
            customAppleLoginBtn.backgroundColor = UIColor.white
            customAppleLoginBtn.layer.borderColor = UIColor.black.cgColor
            customAppleLoginBtn.setTitle("Sign in with Apple", for: .normal)
            customAppleLoginBtn.setTitleColor(UIColor.black, for: .normal)
            customAppleLoginBtn.titleLabel?.font = UIFont.systemFont(ofSize: 14, weight: .semibold)
            customAppleLoginBtn.setImage(UIImage(named: "apple"), for: .normal)
            customAppleLoginBtn.imageEdgeInsets = UIEdgeInsets.init(top: 0, left: 0, bottom: 0, right: 12)
            customAppleLoginBtn.addTarget(self, action: #selector(actionHandleAppleSignin), for: .touchUpInside)
            self.view.addSubview(customAppleLoginBtn)
            // Setup Layout Constraints to be in the center of the screen
            customAppleLoginBtn.translatesAutoresizingMaskIntoConstraints = false
            NSLayoutConstraint.activate([
                customAppleLoginBtn.centerXAnchor.constraint(equalTo: self.view.centerXAnchor),
                customAppleLoginBtn.centerYAnchor.constraint(equalTo: self.view.centerYAnchor),
                customAppleLoginBtn.widthAnchor.constraint(equalToConstant: 200),
                customAppleLoginBtn.heightAnchor.constraint(equalToConstant: 40)
                ])
        }
    }Code language: Swift (swift)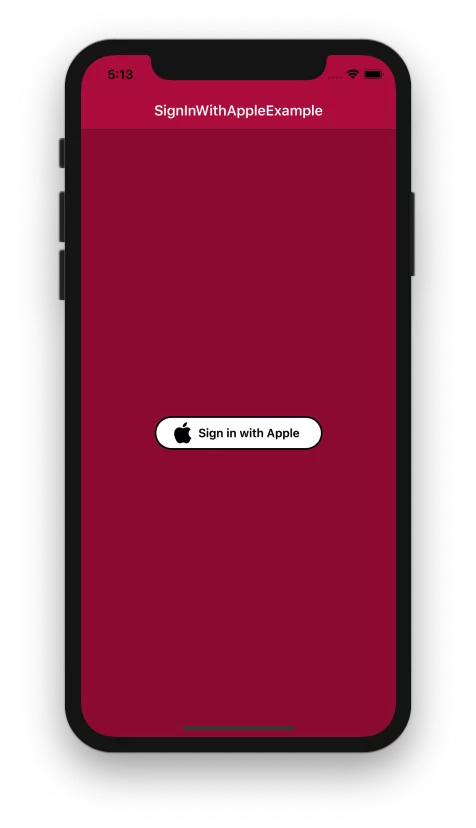
Step 4: Getting Users Data
At the top of your swift file, add the AuthenticationServices framework.
import AuthenticationServicesCode language: Swift (swift)Add the ASAuthorizationControllerDelegate delegate to your class to manage the authorization results.
extension LoginViewController: ASAuthorizationControllerPresentationContextProviding {

    // For present window
    @available(iOS 13.0, *)
    func presentationAnchor(for controller: ASAuthorizationController) -> ASPresentationAnchor {
        return self.view.window!
    }

}Code language: Swift (swift)
Also, add the ASAuthorizationControllerPresentationContextProviding to set the window we want to present the authorization process.
@objc func actionHandleAppleSignin() {
        if #available(iOS 13.0, *) {
            let appleIDProvider = ASAuthorizationAppleIDProvider()
            let request = appleIDProvider.createRequest()
            request.requestedScopes = [.fullName, .email]
            let authorizationController = ASAuthorizationController(authorizationRequests: [request])
            authorizationController.delegate = self
            authorizationController.presentationContextProvider = self
            authorizationController.performRequests()
        }
    }Code language: Swift (swift)
Add the following method to your LoginViewController class:
@objc func actionHandleAppleSignin() {
        if #available(iOS 13.0, *) {
            let appleIDProvider = ASAuthorizationAppleIDProvider()
            let request = appleIDProvider.createRequest()
            request.requestedScopes = [.fullName, .email]
            let authorizationController = ASAuthorizationController(authorizationRequests: [request])
            authorizationController.delegate = self
            authorizationController.presentationContextProvider = self
            authorizationController.performRequests()
        }
    }Code language: Swift (swift)
In this method, we set the scopes. In our example, we want the user’s full name and email.
If the authentication fails, we print the error. If it succeeds, we print the user’s id, first name, last name, and email.
If the user uses the iCloud keychain, it returns the username and password.
extension LoginViewController: ASAuthorizationControllerDelegate {

    // Authorization Failed
    @available(iOS 13.0, *)
    func authorizationController(controller: ASAuthorizationController, didCompleteWithError error: Error) {
        print(error.localizedDescription)
    }


    // Authorization Succeeded
    @available(iOS 13.0, *)
    func authorizationController(controller: ASAuthorizationController, didCompleteWithAuthorization authorization: ASAuthorization) {
        if let appleIDCredential = authorization.credential as? ASAuthorizationAppleIDCredential {
            // Get user data with Apple ID credentitial
            let userId = appleIDCredential.user
            let userFirstName = appleIDCredential.fullName?.givenName
            let userLastName = appleIDCredential.fullName?.familyName
            let userEmail = appleIDCredential.email
            print("User ID: \(userId)")
            print("User First Name: \(userFirstName ?? "")")
            print("User Last Name: \(userLastName ?? "")")
            print("User Email: \(userEmail ?? "")")
            // Write your code here
        } else if let passwordCredential = authorization.credential as? ASPasswordCredential {
            // Get user data using an existing iCloud Keychain credential
            let appleUsername = passwordCredential.user
            let applePassword = passwordCredential.password
            // Write your code here
        }
    }

}Code language: Swift (swift)Important: When the user re-login it returns only the user’s ID. Apple suggests storing the user’s ID with their data(first name, last name, email) and retrieving them when they re-login.
Check the user’s credentials state
Check the user’s credentials by using the getCredentialState method from the ASAuthorizationAppleIDCredential
let appleIDProvider = ASAuthorizationAppleIDProvider()
appleIDProvider.getCredentialState(forUserID: userIdentifier) { (credentialState, error) in
    switch credentialState {
    case .authorized:
        // Credential is valid
        // Continiue to show 'User's Profile' Screen
        break
    case .revoked:
        // Credential is revoked.
        // Show 'Sign In' Screen
        break
    case .notFound:
        // Credential not found.
        // Show 'Sign In' Screen
        break
    default:
        break
    }
}Code language: Swift (swift)
In this example, we check if the user has removed or revoked our app from the list of who gives access to their Apple ID, and if they did, then we show the ‘Sign in’ screen, else we continue to show the ‘User’s Profile’ screen.
Remove the Existing Account from your Apple ID
If you want to test again the ‘Sign in with Apple‘ registration, you can do it by removing your app from the list in Settings > Press on your Apple ID > Password & Security > Apps Using Your Apple ID
You can find the final project here
If you have any questions, please feel free to leave a comment below