
Last updated on: January 28, 2020
In this tutorial, I’m going to show you how to implement Scroll To Top in your RecyclerView in two ways.
First, by pressing the Activity’s title, and second, by pressing a button when it appears while you scroll down.
Contents
Adding Scroll To Top in Activity’s Title
First, we need to replace the ActionBar with our own Toolbar that can handle taps.
Go to your style.xml file (res > values > style.xml), and add a theme with No Action Bar.
<resources>
    <!-- Other themes -->
    <style name="AppTheme.NoActionBar">
        <item name="windowActionBar">false</item>
        <item name="windowNoTitle">true</item>
        <item name="android:actionMenuTextColor">@android:color/white</item>
    </style>
</resources>Code language: HTML, XML (xml)
Don’t forget to change the theme of your Activity on the AndroidManifest.xml too.
<?xml version="1.0" encoding="utf-8"?>
<manifest xmlns:android="http://schemas.android.com/apk/res/android"
          package="com.johncodeos.scrolltotopexample">
    <application
            android:allowBackup="true"
            android:icon="@mipmap/ic_launcher"
            android:label="@string/app_name"
            android:roundIcon="@mipmap/ic_launcher_round"
            android:supportsRtl="true"
            android:theme="@style/AppTheme.NoActionBar">
        <activity android:name=".MainActivity">
            <intent-filter>
                <action android:name="android.intent.action.MAIN"/>
                <category android:name="android.intent.category.LAUNCHER"/>
            </intent-filter>
        </activity>
    </application>
</manifest>Code language: HTML, XML (xml)
To be able to show our own Toolbar at the top of the Activity correctly, we are going to use the CoordinatorLayout.
Add the following dependency in your build.gradle if you don’t already have it.
dependencies {
    // ...

    implementation "androidx.coordinatorlayout:coordinatorlayout:1.1.0"

    // ...
}Code language: Swift (swift)
Go to your Activity‘s layout and put your RecyclerView inside a CoordinatorLayout.
<?xml version="1.0" encoding="utf-8"?>
<androidx.coordinatorlayout.widget.CoordinatorLayout
        xmlns:android="http://schemas.android.com/apk/res/android"
        xmlns:app="http://schemas.android.com/apk/res-auto"
        xmlns:tools="http://schemas.android.com/tools"
        android:layout_width="match_parent"
        android:layout_height="match_parent"
        android:fitsSystemWindows="true"
        tools:context=".MainActivity">
    <androidx.recyclerview.widget.RecyclerView
                android:id="@+id/cars_rv"
                android:layout_width="match_parent"
                android:layout_height="match_parent"
                android:background="@color/colorPrimaryDark" />
</androidx.coordinatorlayout.widget.CoordinatorLayout>Code language: HTML, XML (xml)
Between the CoordinatorLayout and your RecyclerView, add a RelativeLayout and set the layout behavior app:layout_behavior="@string/appbar_scrolling_view_behavior"
Without this attribute, the RecyclerView will be behind the Toolbar.
<?xml version="1.0" encoding="utf-8"?>
<androidx.coordinatorlayout.widget.CoordinatorLayout
        xmlns:android="http://schemas.android.com/apk/res/android"
        xmlns:app="http://schemas.android.com/apk/res-auto"
        xmlns:tools="http://schemas.android.com/tools"
        android:layout_width="match_parent"
        android:layout_height="match_parent"
        android:fitsSystemWindows="true"
        tools:context=".MainActivity">
    <RelativeLayout
            android:layout_width="match_parent"
            android:layout_height="match_parent"
            android:orientation="vertical"
            app:layout_behavior="@string/appbar_scrolling_view_behavior">
        <androidx.recyclerview.widget.RecyclerView
                android:id="@+id/cars_rv"
                android:layout_width="match_parent"
                android:layout_height="match_parent"
                android:background="@color/colorPrimaryDark" />
    </RelativeLayout>
</androidx.coordinatorlayout.widget.CoordinatorLayout>Code language: HTML, XML (xml)
If you get the error Cannot resolve symbol '@string/appbar_scrolling_view_behavior'

Go to your build.gradle of your app and add the following dependency.
dependencies {
    // ...

    implementation 'com.google.android.material:material:1.1.0'

    // ...
}Code language: Kotlin (kotlin)
Back in the Activity‘s layout, add an AppBarLayout above your RelativeLayout
<?xml version="1.0" encoding="utf-8"?>
<androidx.coordinatorlayout.widget.CoordinatorLayout xmlns:android="http://schemas.android.com/apk/res/android"
        xmlns:app="http://schemas.android.com/apk/res-auto"
        xmlns:tools="http://schemas.android.com/tools"
        android:layout_width="match_parent"
        android:layout_height="match_parent"
        android:fitsSystemWindows="true"
        tools:context=".MainActivity">
    <com.google.android.material.appbar.AppBarLayout
            android:layout_width="match_parent"
            android:layout_height="wrap_content"
            android:theme="@style/ThemeOverlay.AppCompat.Dark.ActionBar">

    </com.google.android.material.appbar.AppBarLayout>
    <RelativeLayout
            android:layout_width="match_parent"
            android:layout_height="match_parent"
            app:layout_behavior="@string/appbar_scrolling_view_behavior">
        <androidx.recyclerview.widget.RecyclerView
                android:id="@+id/cars_rv"
                android:layout_width="match_parent"
                android:layout_height="match_parent"
                android:background="@color/colorPrimaryDark" />
    </RelativeLayout>
</androidx.coordinatorlayout.widget.CoordinatorLayout>Code language: HTML, XML (xml)
Inside the AppBarLayout add a Toolbar
<?xml version="1.0" encoding="utf-8"?>
<androidx.coordinatorlayout.widget.CoordinatorLayout xmlns:android="http://schemas.android.com/apk/res/android"
xmlns:app="http://schemas.android.com/apk/res-auto"
xmlns:tools="http://schemas.android.com/tools"
android:layout_width="match_parent"
android:layout_height="match_parent"
android:fitsSystemWindows="true"
tools:context=".MainActivity">
<com.google.android.material.appbar.AppBarLayout
android:layout_width="match_parent"
android:layout_height="wrap_content"
android:theme="@style/ThemeOverlay.AppCompat.Dark.ActionBar">
<androidx.appcompat.widget.Toolbar
android:id="@+id/toolbar"
android:layout_width="match_parent"
android:layout_height="?attr/actionBarSize"
android:background="?attr/colorPrimary"
android:weightSum="1"
app:contentInsetStart="0dp">
</androidx.appcompat.widget.Toolbar>
</com.google.android.material.appbar.AppBarLayout>
<RelativeLayout
android:layout_width="match_parent"
android:layout_height="match_parent"
app:layout_behavior="@string/appbar_scrolling_view_behavior">
<androidx.recyclerview.widget.RecyclerView
android:id="@+id/cars_rv"
android:layout_width="match_parent"
android:layout_height="match_parent"
android:background="@color/colorPrimaryDark" />
</RelativeLayout>
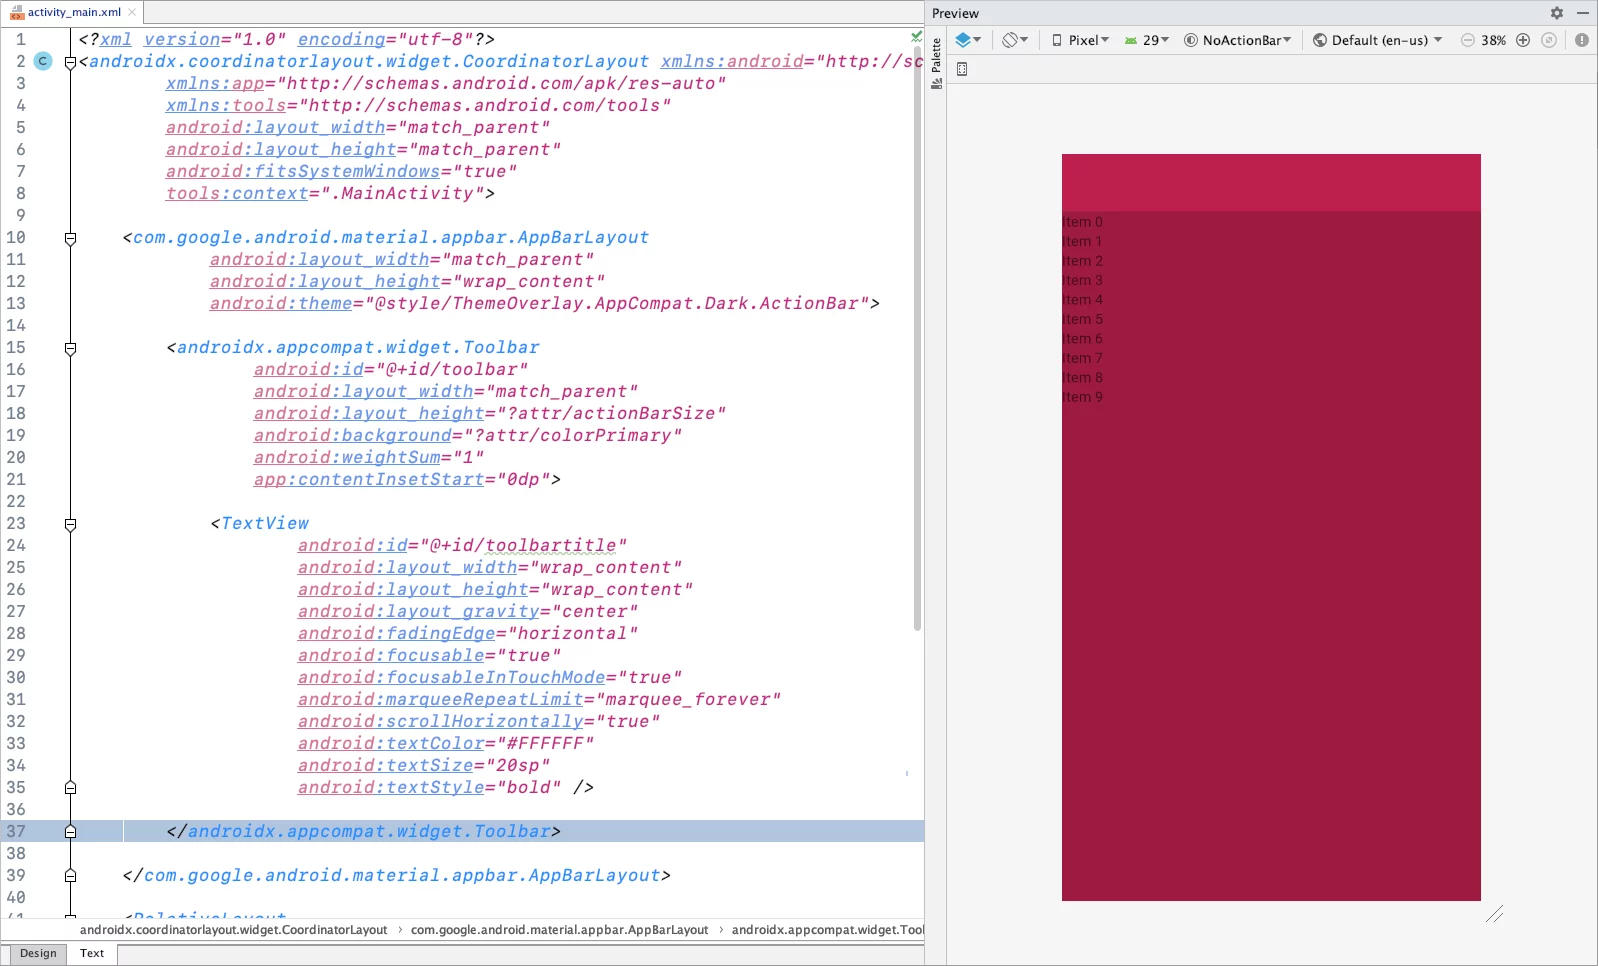
</androidx.coordinatorlayout.widget.CoordinatorLayout>Code language: HTML, XML (xml)Last, add a TextView inside the Toolbar, like that:
<?xml version="1.0" encoding="utf-8"?>
<androidx.coordinatorlayout.widget.CoordinatorLayout xmlns:android="http://schemas.android.com/apk/res/android"
        xmlns:app="http://schemas.android.com/apk/res-auto"
        xmlns:tools="http://schemas.android.com/tools"
        android:layout_width="match_parent"
        android:layout_height="match_parent"
        android:fitsSystemWindows="true"
        tools:context=".MainActivity">
    <com.google.android.material.appbar.AppBarLayout
            android:layout_width="match_parent"
            android:layout_height="wrap_content"
            android:theme="@style/ThemeOverlay.AppCompat.Dark.ActionBar">
        <androidx.appcompat.widget.Toolbar
                android:id="@+id/toolbar"
                android:layout_width="match_parent"
                android:layout_height="?attr/actionBarSize"
                android:background="?attr/colorPrimary"
                android:weightSum="1"
                app:contentInsetStart="0dp">
            <TextView
                    android:id="@+id/toolbartitle"
                    android:layout_width="wrap_content"
                    android:layout_height="wrap_content"
                    android:layout_gravity="center"
                    android:fadingEdge="horizontal"
                    android:focusable="true"
                    android:focusableInTouchMode="true"
                    android:marqueeRepeatLimit="marquee_forever"
                    android:scrollHorizontally="true"
                    android:textColor="#FFFFFF"
                    android:textSize="20sp"
                    android:textStyle="bold" />
        </androidx.appcompat.widget.Toolbar>
    </com.google.android.material.appbar.AppBarLayout>
    <RelativeLayout
            android:layout_width="match_parent"
            android:layout_height="match_parent"
            app:layout_behavior="@string/appbar_scrolling_view_behavior">
        <androidx.recyclerview.widget.RecyclerView
                android:id="@+id/cars_rv"
                android:layout_width="match_parent"
                android:layout_height="match_parent"
                android:background="@color/colorPrimaryDark" />
    </RelativeLayout>
</androidx.coordinatorlayout.widget.CoordinatorLayout>Code language: HTML, XML (xml)
So at the end, will look like this:
Now, go to your Activity‘s file, customize your TextView and add a click listener to scroll to the top of the RecyclerView every time we tap the TextView.
class MainActivity : AppCompatActivity() {
    override fun onCreate(savedInstanceState: Bundle?) {
        super.onCreate(savedInstanceState)
        setContentView(R.layout.activity_main)

        // ...
        toolbartitle.ellipsize = TextUtils.TruncateAt.MARQUEE
        toolbartitle.isSingleLine = true
        toolbartitle.isSelected = true
        toolbartitle.setOnClickListener { cars_rv.smoothScrollToPosition(0) }
        toolbartitle.text = "ScrollToTopExample"
        // ...
    }
}Code language: Kotlin (kotlin)
Done!
Adding Scroll To Top in Button
This method is very common when you create a chat. The user scrolls to see the chat history and a button with an arrow appears to scroll back.
First, add the following dependency in your build.gradle of your app, if you want to have a circular shape button(ImageView) for the Scroll To Top icon later.
dependencies {
    // ...

    implementation 'de.hdodenhof:circleimageview:3.1.0'

    // ...
}Code language: Kotlin (kotlin)
Then, in the layout of your Activity, add the Scroll To Top button(ImageView) outside the screen.
<RelativeLayout
android:layout_width="match_parent"
android:layout_height="match_parent"
app:layout_behavior="@string/appbar_scrolling_view_behavior">
<androidx.recyclerview.widget.RecyclerView
        android:id="@+id/cars_rv"
        android:layout_width="match_parent"
        android:layout_height="match_parent"
        android:background="@color/colorPrimaryDark" />
<!--It's outside the screen because is visible when the screen starts-->
<de.hdodenhof.circleimageview.CircleImageView
        android:id="@+id/scroll_to_top_arrow"
        android:layout_width="45dp"
        android:layout_height="45dp"
        android:layout_alignEnd="@+id/cars_rv"
        android:layout_alignBottom="@+id/cars_rv"
        android:layout_centerInParent="true"
        android:layout_marginEnd="-85dp"
        android:layout_marginBottom="18dp"
        android:rotation="90"
        android:scaleType="centerCrop"
        android:src="@drawable/back_arrow"
        app:civ_border_width="2dp" />
</RelativeLayout>Code language: HTML, XML (xml)
Now, in your Activity file
Add the positions for the button where do you want to be when it’s visible and hidden
Add to the button a click listener, so when we tap it, it will scroll to the top.
Also, we need to hide the arrow button so it’s not visible when the Activity starts.
class MainActivity : AppCompatActivity() {
    // ...
    override fun onCreate(savedInstanceState: Bundle?) {
        super.onCreate(savedInstanceState)
        setContentView(R.layout.activity_main)
        // ...
        // Scroll To Top Arrow(ImageView) Customization
        scroll_to_top_arrow.borderColor = Color.WHITE
        scroll_to_top_arrow.circleBackgroundColor =
            ContextCompat.getColor(this, R.color.colorPrimaryDark)
        scroll_to_top_arrow.setColorFilter(Color.WHITE, PorterDuff.Mode.SRC_ATOP)
        // Positions for the arrow when is hidden and visible
        val whenVisibleMargin = convertDpToPixel(15f, cars_rv.context)
        val whenHideMargin = convertDpToPixel(-85f, cars_rv.context)
        // Hide the arrow at the beginning when the screen starts
        scroll_to_top_arrow.visibility = View.GONE
        // Scroll to the top when you press the arrow
        scroll_to_top_arrow.setOnClickListener {
            cars_rv.post {
                cars_rv.smoothScrollToPosition(0)
            }
        }
         // ...
    }
    private fun convertDpToPixel(dp: Float, context: Context): Float {
        return dp * (context.resources.displayMetrics.densityDpi.toFloat() / DisplayMetrics.DENSITY_DEFAULT)
    }
}Code language: Kotlin (kotlin)
Add a scroll listener in your RecyclerView to detect when we scroll to the bottom, to show the arrow.
In this example, we say that we want to show the arrow when the 12th item from the RecyclerView appears on screen while we scroll.
class MainActivity : AppCompatActivity() {
    // ...
    var animatedHide = false
    var animatedShow = false
    var findLastVisibleItemPositionValue = 12
    override fun onCreate(savedInstanceState: Bundle?) {
        super.onCreate(savedInstanceState)
        setContentView(R.layout.activity_main)
        // ...
        cars_rv.addOnScrollListener(object : RecyclerView.OnScrollListener() {
            override fun onScrolled(recyclerView: RecyclerView, dx: Int, dy: Int) {
                if (mLayoutManager.findLastVisibleItemPosition() >= findLastVisibleItemPositionValue) {
                    if (!animatedShow) {
                        scroll_to_top_arrow.visibility = View.VISIBLE
                        val params = scroll_to_top_arrow.layoutParams as RelativeLayout.LayoutParams
                        val animator =
                            ValueAnimator.ofInt(params.rightMargin, whenVisibleMargin.toInt())
                        animator.addUpdateListener { valueAnimator ->
                            params.rightMargin = valueAnimator.animatedValue as Int
                            scroll_to_top_arrow.requestLayout()
                        }
                        animator.duration = 300
                        animator.start()
                        animatedShow = true
                        animatedHide = false
                    }
                } else {
                    if (!animatedHide) {
                        scroll_to_top_arrow.visibility = View.VISIBLE
                        val params = scroll_to_top_arrow.layoutParams as RelativeLayout.LayoutParams
                        val animator =
                            ValueAnimator.ofInt(params.rightMargin, whenHideMargin.toInt())
                        animator.addUpdateListener { valueAnimator ->
                            params.rightMargin = valueAnimator.animatedValue as Int
                            scroll_to_top_arrow.requestLayout()
                        }
                        animator.duration = 300
                        animator.start()
                        animatedHide = true
                        animatedShow = false
                    }
                }
                super.onScrolled(recyclerView, dx, dy)
            }
        })
    }
}Code language: Kotlin (kotlin)
That’s it!
You can find the final project here
If you have any questions, please feel free to leave a comment below